Saturday, December 7, 2013

How to Easily Remove Wine Labels from Bottles

I am starting a project that requires many wine labels. Acquiring the wine bottles was not a problem, but peeling off the labels was. I'd get started on a corner with my fingernail, make enough progress to create a nice little "dog-ear," and then it would start tearing. I sought out a solution, and I found one. Here's what I did, and it's far less trouble than some of the other ideas I saw. Furthermore, this method has worked 100% of the time.


Preheat your oven to 325 degrees.


With your fingernail, peel just enough to create a "dog-ear."


What you see on the bottle is a reflection, not label residue.


Once the inside has reached the desired temperature, place your bottles inside. Let them heat for about 5 minutes.


Yes, I know my oven needs to be cleaned.

With an oven mitt or hand towel, take bottles out. Glass is a poor conductor of heat, but not poor enough. Set them on a flat surface. Hold the top of the bottle with the towel or mitt, and use your free hand to carefully pull label away from bottle (use your dog ear).


The process was a piece of cake.


What did I do with the wine labels?


Painting Upholstery

The problem, and this was something I didn't notice in the photos, was that though there were four bar stools, each pair was completely different from the other. Looking at the photo now, I'm completely embarrassed that I was oblivious to the difference.


How does that brief explanation relate to painting upholstery? I'm getting to that. The two bar stools on the left and the right in the photo were easy. It was simply a matter of unscrewing the cushion, reupholstering, and screwing them back on. Then there were the two in the foreground and background. Here is a crappy close-up of my dilemma.


I was all set to reupholster these stools in the same way. The seat cushion easily unscrewed, and the back cushion.......the back cushion. I remember thinking, "What in the hell am I going to do with the back cushion?" There were no screws to unscrew. It would not push or pull out. Lovely.

Something had to be done because there were numerous unsightly stains. The seat cushions were the same as the others, so I was thinking that I would just reupholster the stools like i had the other two. Then I realized the backs did not screw in. I considered cutting them out, but piping around upholstery is above my pay grade. Then I wondered, "Could the fabric be painted?" After a bit of research, I learned that it could indeed be done. Here is the procedure:

Step 1: Clean the fabric to be painted, and clean it well. Use a lint brush. You want all dust, debris, and in my case, cat hair off the fabric.

Step 2:  Mix the latex paint and the fabric medium. If you don't know what fabric medium is (I didn't), here is a photo. It does a great job of keeping the fabric from getting too hard.


Use a small plastic cup you can throw away after the project. The ratio should be 1:1. Dilute the paint/medium mixture with water, using about one-half the amount as the paint and medium (ratio of paint/fabric medium/water should be 1 : 1 : 0.5). Stir the mixture.

Step 3: Fill a spray bottle with water. Liberally spray (using a fine mist setting on the spray bottle) the fabric you intend to paint. You want it damp, but not wet.

Step 4: Brush on the paint, and you will want to paint two coats. Each coat should be rather thin, and please let the first coat dry completely before applying the second. That, sometimes, is a difficult request if you are impatient like I am.


Step 5: Apply the final coat. For this, you will need acrylic paint and some of that fabric medium from earlier. You can buy the acrylic paint at any craft store or Wal-Mart. Mix 1 part acrylic paint with 1 part fabric medium. Dilute the mixture with a little bit of water (perhaps a water bottle cap's worth of water). Generously paint the fabric.
                
               Tip: Buy the acrylic paint first. Take the acrylic paint to Lowe's or Home Depot, and have them match the color for your latex paint.


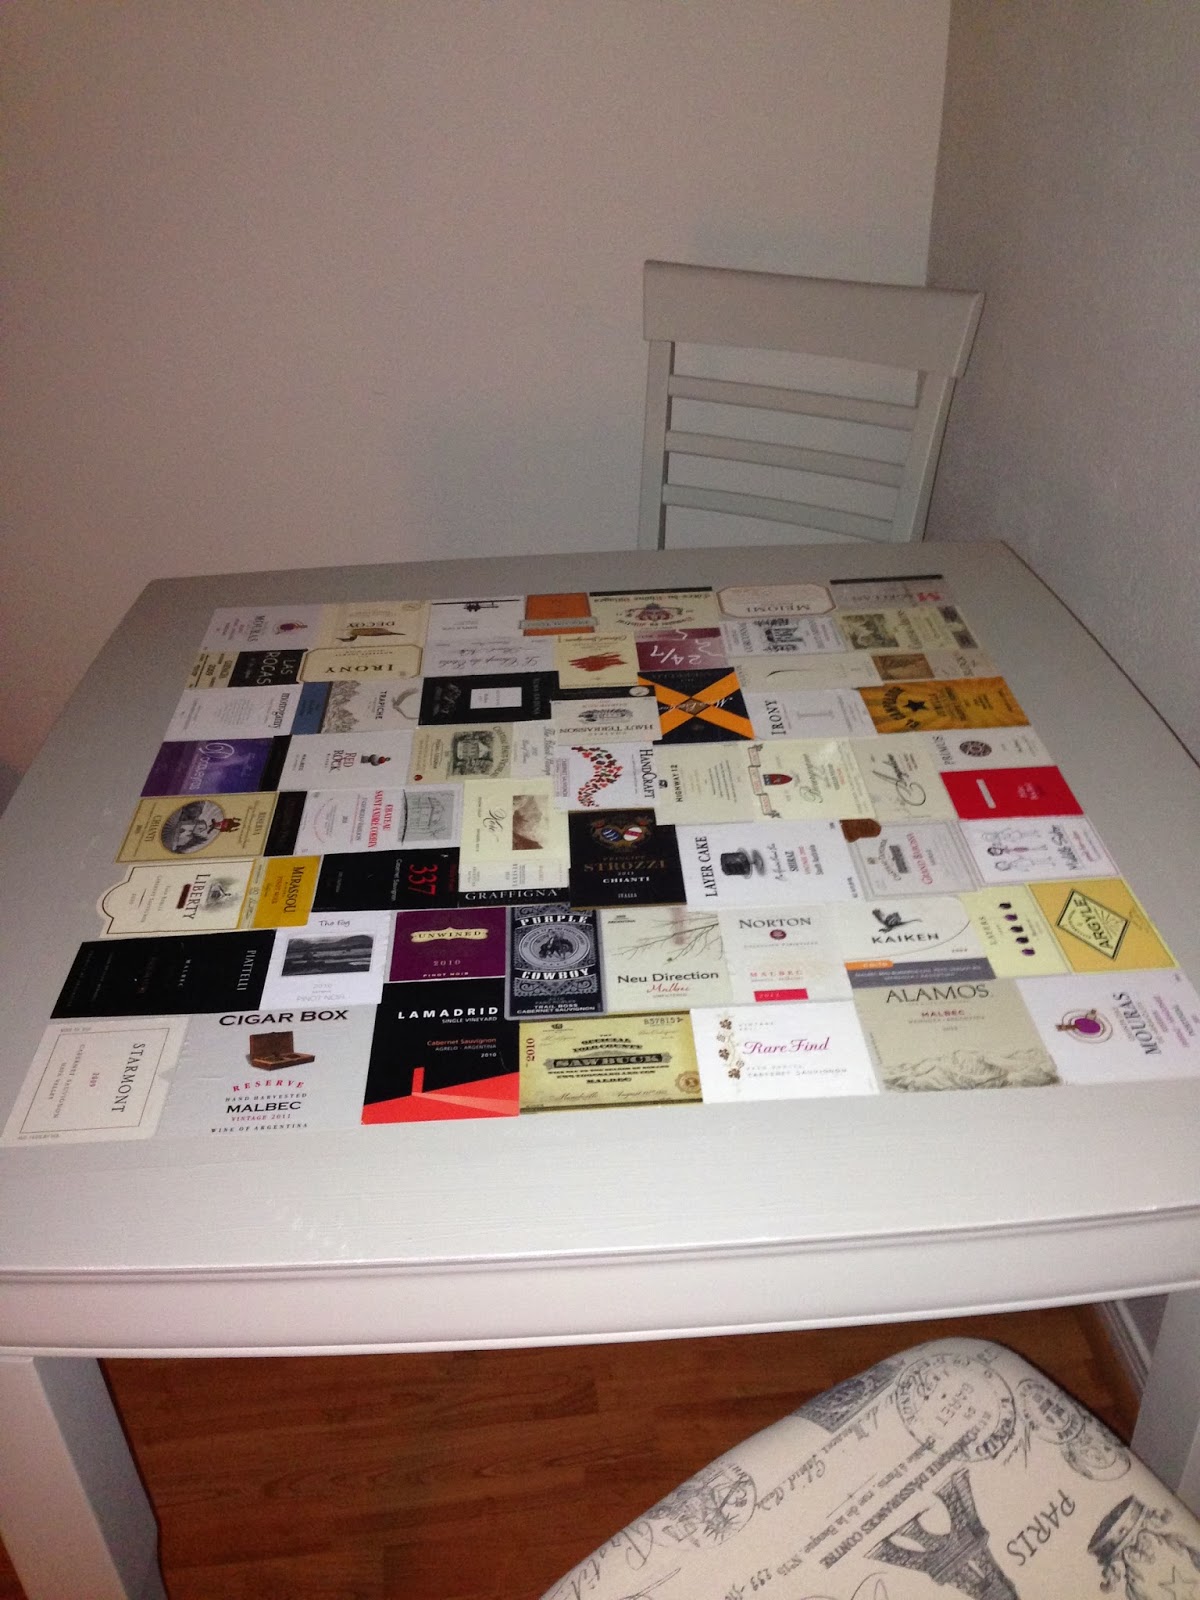
Your final product should look something like this:


In the end, the work was worth it. I paid $80 for the pub table and the four bar stools. I sold the painted upholstery stools for $180. I converted the drab pub table into a wine label pub table (http://coffeeandvalium.blogspot.com/2013/12/how-to-easily-remove-wine-labels-from.html) and sold it, along with the two other stools for $250.

Wednesday, December 4, 2013

Coffee Table Made from Old Cypress Tree


                                                                                                                                                               Coffee Table from Old Cypress Tree


It took long enough. Part procrastination, part ignorance, and part waiting for Home Depot to deliver my table legs, but it's finally done. I am happy with the final product. It was hard finding resources dumbed-down enough for me to understand, so here is a brief idiot's procedure to making one.

Step one--Get yourself a nice cross-section of a tree. I got this one (about 4 inches thick) when the tree-cutting people chopped down a very, very old cypress tree. If you visit a tree-cutter, and if you're nice to them, they will cut one for you. Giving them a little money helps. Forgive me, but I recently deleted a ton of photos....I think the photo of this wood freshly cut was a casualty of the purge.

Step two--Let the wood dry. There are kilns available to speed this process, but I used the Texas sun and procrastination. I'm not sure how long it takes for wood to dry naturally, but that can be researched.

Step three--Sand the living hell out of the wood. For starters, I used a very coarse grit with an electric sander, and then switched to a finer grit. You want a very smooth surface. Oh, and wear a mask. That sawdust can wreak havoc on your sinuses.

Step four--Shellac the wood. There are two types of shellac that I found, and they both smell wonderfully, like orange schnapps . One is colorless, and one is amber. I think both enhance the beauty of the wood, but it truly is a matter of personal preference. Follow directions on the can!!!! Use disposable brushes, but if you need to add a coat or two the next day, place your brush in a jar of rubbing alcohol, and that will keep the brush usable for the next day.


Step five--Find some table legs that are suitable in length for the table you are making, and buy some top plates (they come as angled and straight....I used straight). I ordered the 12-inch tapered legs (made by Waddell) from Home Depot, and with shipping and taxes, five cost me $28.24. I truly had no clue how many I would need, but I knew no more than five. Five top plates ran me $9.09 at Lowe's.


Bonus: The box that held the legs provided a new toy for the cats to fight over.

Step six--Measure an isosceles triangle (or a close approximation), and screw in the plates. Screw in the screws (that sounds weird) at a 45-degree angle to substantiate the hold a bit more.


Step seven--Screw the legs into the plates, and test table with weight.


Step eight--Stain or paint your table legs. I tried to stain first, and it didn't look right to me. So I opted to paint the legs brown instead.


Step nine--Screw the painted (or stained) legs into the plates, and enjoy your table!! Or sell it on Craigslist.